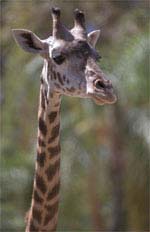
We'll start with an image that we want to remove the background from, or "knock out" the background and create a transparent image with. Here's what I will be using:
Step 2
Now for the tedious part, we're going to trace around our image. Now if you're a new user of photoshop, or just don't feel as comfortable with the pen tool. I suggest you do this with the lasso tool ( ). However please note that you should take the time to train yourself on using the pen tool, you have far more control over it, you can zoom in closely, pan the canvas around, and countless other qualities that make it better than the Lasso Tool.
But let's use the Lasso tool, as it's quick and dirty. Another little trick if you find it difficult to trace around your image and keeping your hand from shaking around, set the Feather of the Lasso tool to 1 or 2 pixels, and leave Anti-aliased checked:
Step 3
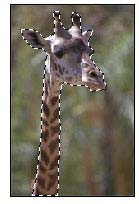
Alright, you guessed it, trace around your image as best you can, as I've done here.
Tip(s): Now if you need to add to your selection, press and hold the Shift key on your keyboard. You should notice a little + sign appear next to the Lasso Tool. This will allow you to ADD to the selection (incase you accidentally dug in to far).
You can also hold down the Alt key on your keyboard, you'll notice a little - sign next to the Lasso Tool. This will allow you to DELETE a piece of your selection (incase you accidentally selected a portion of the image that you didn't mean to).
Step 4
Okay, so that takes care of the hard part. Now we're going to copy what's inside of the selection. We'll do this by pressing Ctrl + C on your keyboard, ( Alternatively by going to "Edit->Copy" from your tool bar).
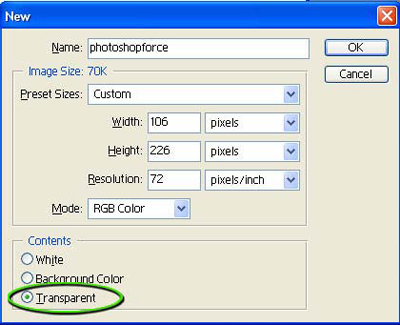
Then we'll create a new image. Press Ctrl + N on your keyboard, (Alternatively by going to "File->New" from your tool bar).
Leave the Width/Height settings as they are (they are automatically set for you by photoshop).
But make sure that the background is set to TRANSPARENT, as shown here:
Now go ahead and press Ctrl + V on your keyboard (Alternatively by going to Edit->Paste).
This will paste the clipboard onto the new document, and center it perfectly for your:
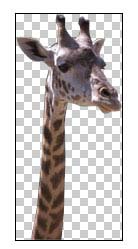
The checkered background is Photoshop way of saying 'Hey I'm invisible'.
Okay, now to save this bad boy or should I say bad giraffe?
In any event, press Ctrl + Shift + Alt + S on your keyboard to open up the "save for web" tool (Alternatively by going to File->Save For Web).
Step 5
Now you have two options to save a transparent image. You can use GIF (which is currently the standard for transparent images, or PNG).
In the near future I'm sure PNG will be the new standard, as more browsers support the PNG's alpha transparency I'm sure it will overtake the GIF format.
But lets go with the GIF format, as all browsers support transparent GIFs.
So set your save for web options up as I have done here:

Now rather than confuse yourself with all these settings, simply set them up as I have done here, for maximum image quality.
And there you have it, a transparent GIF:
0 comments:
Post a Comment